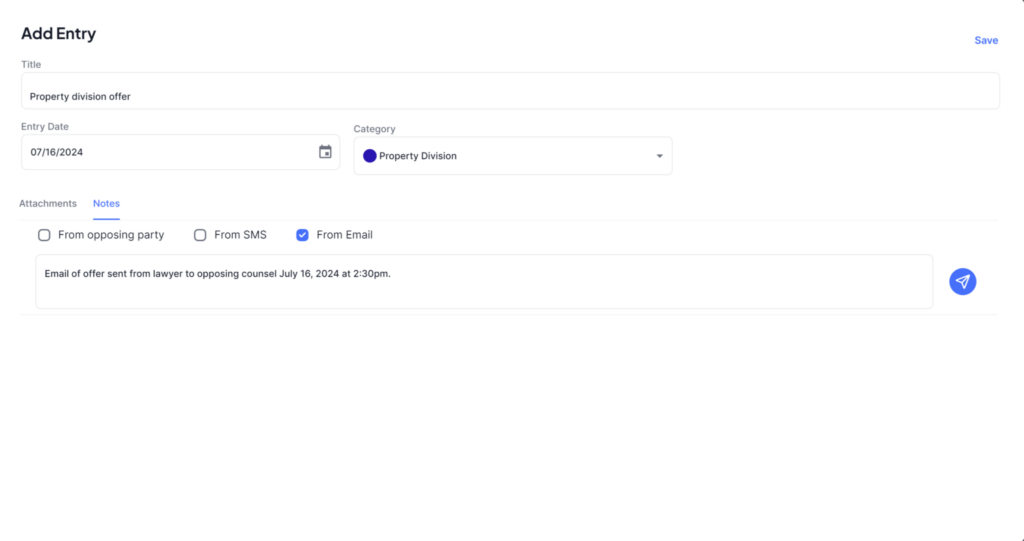
Entries can be created from either the Timeline view, or the Entries View: #
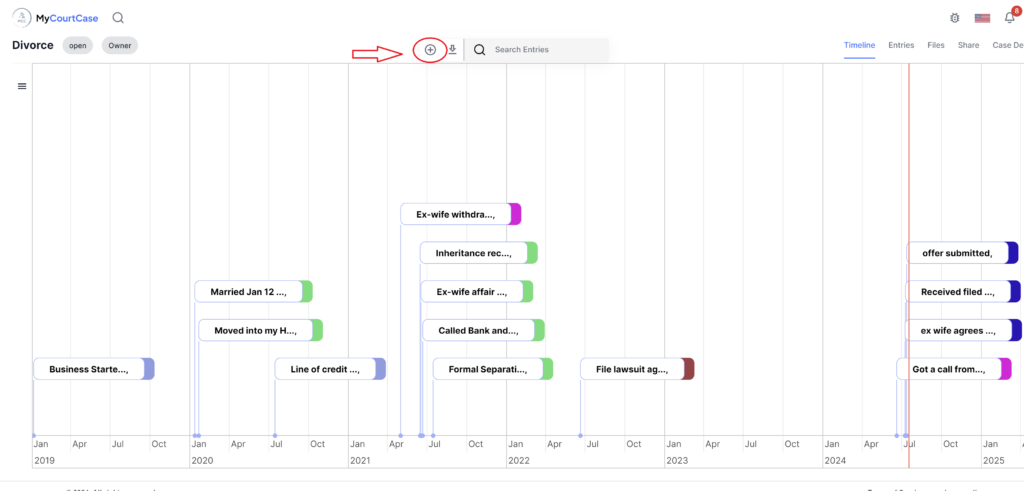
1. Timeline View: #
At the top of the timeline view, click the ![]() icon.
icon.
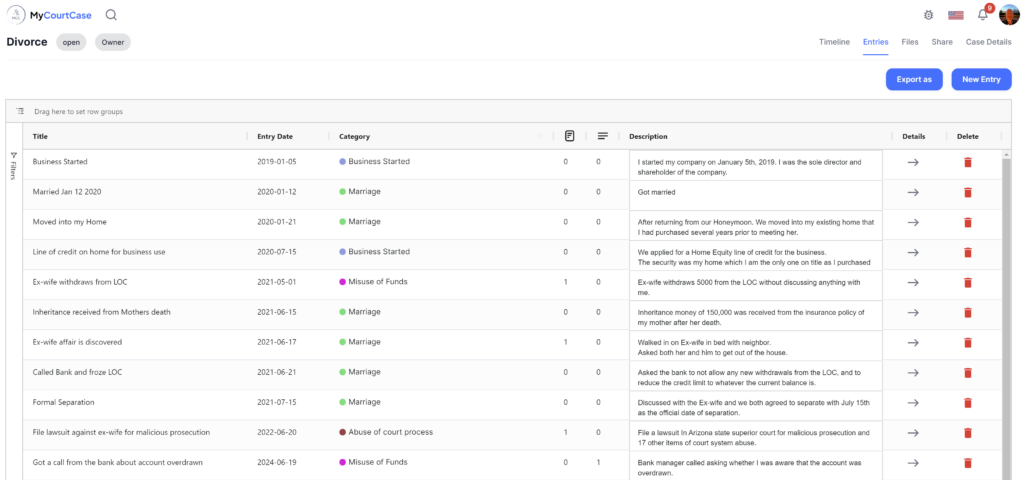
2. Entries View: #
From the Entries view click the New Entry button.
3. Create the Entry: #
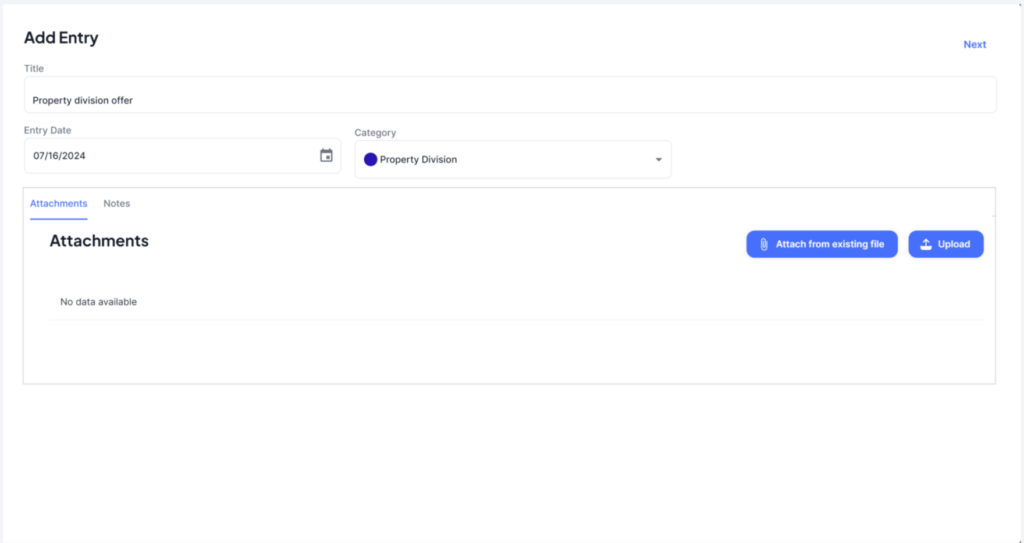
The first screen requires a Title for the entry, and the date of the entry. It is highly recommended that a category be assigned to the entry as well. New categories can be created on the fly, by clicking the icon in the upper right corner beside the Next button.
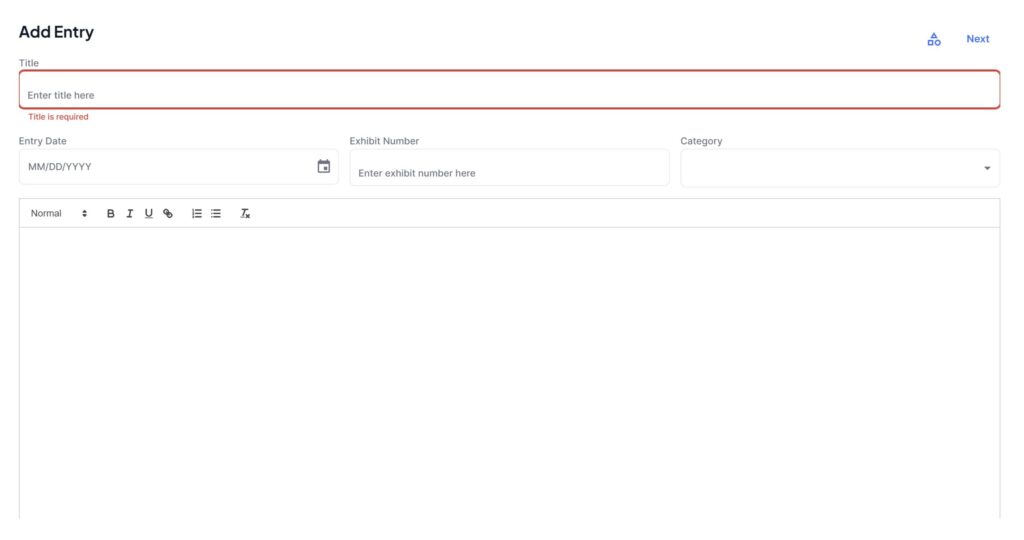
After entering the details, click the Next button on the upper right corner of the window to advance to the screen where you can add any attachments.
To add attachments. You can either upload a new file, or if you wish to reference a file that was previously uploaded on a different entry, you can select attach from an existing file. Once complete, click the Next button to move to the notes area.
Enter any notes that are relevant, and click Save once finished. The entry will appear in the list of entries, as well as on the timeline.
